You can use the non-interactive 1-Touch recovery operation to restore your UNIX client computers.
Start the Configuration Wizard
-
From the Command Center navigation pane, go to Protect > Files.
The Overview page appears.
-
On the Files tab, click the file server.
The file server page appears.
-
In the upper-right corner of the client details page, click the action button
 , and then click 1-Touch recovery.
The Select Recovery Points page of the configuration wizard appears.
Using Point-In-Time Backup
By default, the latest data and configuration settings of the client computer, backed up in the default backup set, is used to restore the client computer to another computer that has the same hardware and disk configuration.
-
To use a user-defined backup set, select a backup set from the list.
-
Select a date and time.
All the data that was backed up before the specified point-in-time is restored when the virtual machine is created.
-
To recover from the latest backup and configuration, select the Recover from the latest backup and configuration check box.
-
Click Next.
The Computer And CommCell Configuration page appears.
Configuring Destination Machine Properties
-
In the CommCell Configuration section, do the following:
-
From the Associate with server group(s) list, select a server group to add the virtual machine or the physical computer.
-
In the Network gateway field, specify the network gateway name if you did not specify the server group or the specified server group is not part of any network topology. The format for the network gateway name is ‘hostname:port’.
Note
If server group or network gateway is not specified then it is assumed that the CommServe server is accessible from the destination machine.
-
From the Copy precedence list, select a copy of the backup data to use for the virtual machine or the physical computer.
-
-
In the Computer Configuration section, do the following:
-
To create the replica of the client computer, move the Clone Machine toggle key to the right and then specify the Hostname (not the FQDN). The client computer can be a physical computer or a virtual machine.
-
In the Client name field, specify the name of client to be created in the CommServe server.
-
Review the Source computer boot firmware field. Possible values are BIOS or UEFI. 1-Touch recovery does not support cross-firmware machine restores.
-
-
Click Next.
The Machine Configuration page appears.
Disk Provisioning and Network Configurations
-
If the target disks are smaller in size or less in number than that of the source client, select the Automatically scale down mountpoint sizes to fit check box to scale down the mount points automatically to fit the available disks.
-
Select the required Volumes.
Note
Ensure that there is enough disk space available for the selected volumes.
-
In the Network section, select or add at least one network configuration with IP address and default gateway.
-
Click Next.
The Advanced Recovery Options page appears.
Additional Recovery Options
-
To persist the network configuration used during the recovery process onto the machine after it boots up, move the Persist the network configuration post 1-Touch recovery toggle to the right.
The network persistence options appear.
-
Persist the network configuration of the backed-up machine: The destination machine will have the network configuration of the backed up machine after reboot. Select this option if VLAN tagged NICs are configured
-
Persist the network configuration just for NICs that are enabled and configured under the 'Network Configuration' section: This will persist the network configuration of only those NICs that were enabled and configured during the recovery. This option is selected by default.
-
Persist the network configuration for all NICs: This will persist the network configuration for all NICs detected during recovery. An empty configuration file is created for the NICs that were detected but not configured during the recovery process.
Note
If you had configured a bonded NIC from the Machine Configuration page of the wizard, we recommended selecting the Persist the network configuration of the backed-up machine option, and to review or update the network configuration scripts after the restore operation completes.
-
-
Click Submit.
A response file is generated and downloaded. You must use this response file during the 1-Touch restore wizard. The default validity of the exported response file is seven days. You can either extend the validity or use another access token with different validity period.
Completing 1-Touch Recovery for Linux on Destination Computer Using Response File
-
Copy the response file to a USB drive, removable disk, or a network location.
-
Connect the USB drive or the removable disk to the computer that you use to perform 1-Touch recovery.
If you want to use an NFS location to access the response file during the restore, follow the steps given in Response File for Non-Interactive Recovery From an NFS Location.
-
Boot the client using the ISO image.
-
Type Default and press Enter to start the default recovery.
On certain hardware, after the system state restore, the kexec system call fails and the machine reboots. On such hardware, we recommend to select the nolapic boot option. Similarly, the noapic boot option is relevant to a particular hardware configuration.
Note
Selecting the nolapic or noapic boot options for default recovery might result in incorrect hardware initialization.
-
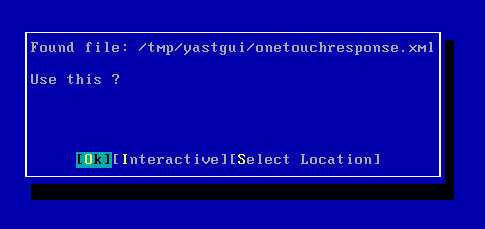
Select OK and press Enter to start the system state and file system restore.
The system state and the file system data backed up during the most recent backup will be restored.
-
Remove the USB drive connected to the client when the client computer is booting with backup kernel.

-
Press Enter.
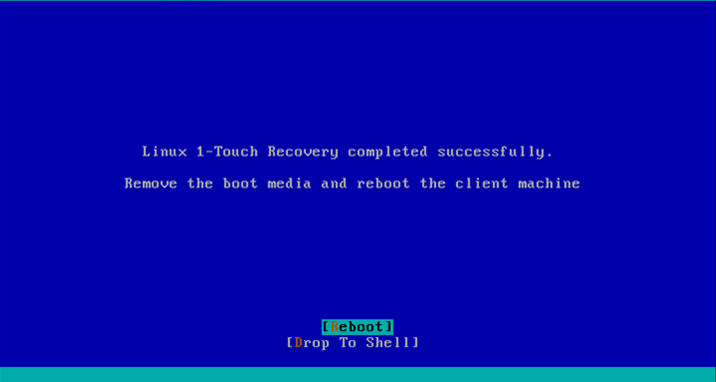
-
Remove the 1-Touch Linux Live CD and reboot the system.