HyperScale X Appliance nodes can be re-imaged when there is no backup data available in the node. For example, after a failed or incorrect installation. (When there are hardware failures in one of the nodes in an existing storage pool, such as disk issues or corrupted operating system, you can refresh the node as described in Refreshing HyperScale X Appliance Nodes.)
Before You Begin
-
Verify and ensure that the static IP for the IPMI (Intelligent Platform Management Interface) which provides remote access and monitoring is setup on the node. For more information about setting up the IPMI, see Setting up a Static IP For IPMI.
-
Windows-based client with Java Runtime Environment installed.
-
Download the most recent version of the HyperScale software from the Commvault Store.
Note
Hyperscale ISO 2.2212 is the current most recent version.
-
One of the following depending on your model:
HS2300 HyperScale Appliance CommServe OVA
HS4300 HyperScale Appliance CommServe OVA
-
-
Copy the files in a location that is accessible to the nodes.
You can also create and use an USB boot media for this purpose. For more information, see Creating USB Boot Media.
-
Disconnect any cables that are attached to FC HBA's before imaging.
-
Verify that ports described in the Super Micro section of the Firewall Port Requirements For HyperScale X Appliance page is open between the Windows client and the IPMI interface in the HyperScale nodes.
Recommendations
The time required for re-imaging using the IPMI interface varies depending on the disk and network bandwidth available. As the client will transmit the ISO over a network to the IPMI interface in the HyperScale node, the following points are recommended to ensure a fast, stable connection:
-
The windows client should be in the same physical location as the HyperScale nodes. Re-imaging an appliance node over a WAN connection is unreliable and is highly discouraged.
-
The ISO can be copied on the Windows client used to perform the re-image operation. (Mounting it from a network share or remote location will impact the performance.)
You can also create and use an USB boot media for this purpose. For more information, see Creating USB Boot Media.
Procedure
-
Create a bootable ISO as follows:
-
Login to a remote workstation, that has access to the HyperScale nodes.
-
Open a web browser from a remote workstation and enter the static IP associated with the IPMI.
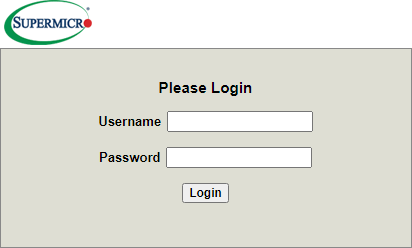
The login screen is displayed.
-
Type in the credentials for the default administrator account as follows:
Username: ADMIN
Password: ADMIN
-
Click Login.
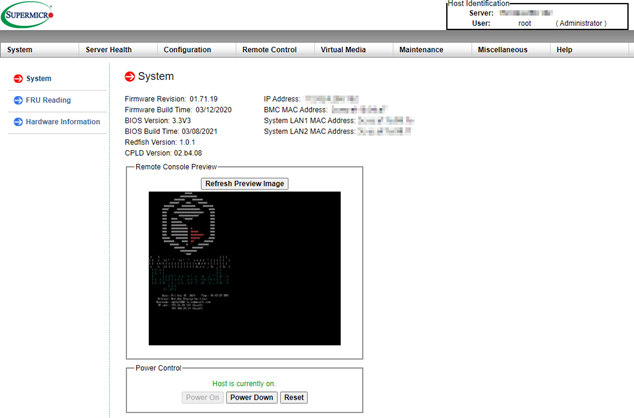
The IPMI Web Server interface is displayed.
-
Launch the Remote Console window as follows:
-
From the menu click Remote Control, and then click Console Redirection.
-
Click the Launch Console button.
This will launch a Java Applet.
-
Click the necessary options to run the Java applet and start the Remote Console Window.
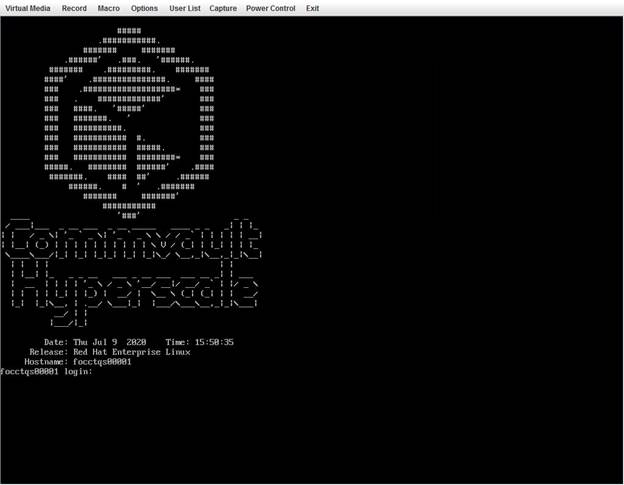
The Remote Console window will be displayed.
-
Login using the following default credentials:
Login:root
Password:cvadmin
Press < Alt> + <Ctrl> + <F2> if the login prompt is not displayed.
-
Map the downloaded HyperScale X Appliance ISO as follows:
From the menu, click Virtual Media > Virtual Storage.
The Virtual Storage dialog box is displayed.
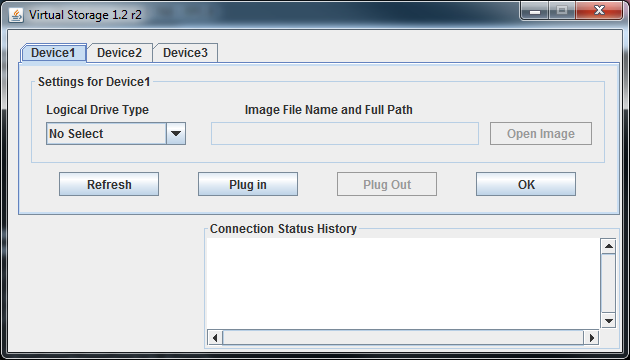
From the Logical Drive Type list, select ISO File.
Click the Open Image button and navigate to the OVA folder containing the downloaded .ISO file.
Select the file and then click Open.
Click the Plug in button.
Ensure that the Connection Status History displays the message VM Plug-In OK!!.
Click OK.
-
-
-
Restart the node. From the menu, click Power Control > Set Power Reset.
-
After the reboot, press < F11>.
The Boot Menu will be displayed.
-
Select the option to boot from the ISO media from the virtual CD-ROM drive.
Note
It may take several minutes for the ISO to boot, and a blank screen may be displayed for some time, approximately up to 5 minutes.
The main menu will be displayed.
-
Select the Next button to proceed to the selection menu.
-
When prompted, choose the Reinitialize drives option.
The imaging will start automatically and this process may take some time, approximately 45 minutes, to complete.
A 'completed successfully' message will be displayed when the imaging process is finished.
-
Unmount the ISO from the node as follows:
-
Launch the Remote Console window. (See step 2 above.)
-
From the menu, click Virtual Media > Virtual Storage.
The Virtual Storage dialog box is displayed.
-
Click the Plug out button.
-
Click OK.
-
-
Restart the node as follows:
From the Remote Console menu, click Power Control > Set Power Reset.
-
After the restart, copy the downloaded OVA file (
cvhcics.ova) to the/ws/ddb/ovafolder in the re-imaged node. -
Verify the Commvault Distributed Storage (CDS) RPM version using the following command:
# /usr/local/hedvig/scripts/whichCommit.shThe resulting output will display the RPM version in the Branch: section, as shown in the following sample output:
Manifest-Version: 1.0
Created-By: Hedvig
Main-Class: com.simontuffs.onejar.Boot
One-Jar-Main-Class: com.quexascale.quexablock.pages.QuexaBlockPagesService
CommitId: QBD[c92d97c476bdedb194b895589f3665c42ce09914: 1.94: 2021-03-15T22:34Z]
Duro[4e4ba99cb77552ee56f7f7edf19112f3b3d64b86: 1.1: 2021-03-15T22:31Z]
Common[d353c7e277802aaa15d01e47c3d7e40aefa19237: 2021-03-15T22:28Z]
GMS[fce7026009692b7188876c35227ff1a36a09e734: 2021-03-15T22:29Z]
HPOD[0162c6263f7a647a05be8698b6b17f8863c09dd3:2021-03-15T22:30Z]
Thrift[5dc0e4f06d8c5f1a58785da64538d41e9a2d5082:2021-03-15T22:29Z]
Branch: QBD[v-4.2.3] Duro[v-4.2.3] Common[v-4.2.3] GMS[v-4.2.3] HPOD[v-4.2.3] Thrift[v-4.2]
In the above example, v-4.2.3 is the RPM version.
-
Verify the minor version of the RPM using the following command:
# rpm -qa | grep hedvigThe resulting output will display the minor RPM version, as shown in the following sample output:
hedvig-cluster-1.0.0_3564_2484803ffb-1.x86_64
hedvig-common-1.0.0_3564_2484803ffb-1.x86_64
In the above example, 3564 is the minor RPM version.
What to Do Next
Important
Verify and ensure that all nodes have the same time and timezone settings.
Setup the network on re-imaged node, choosing a method based on your network topology. For more information, see the Setting up the Network.