If you have an existing Commvault environment, you can connect to the existing CommServe server and also setup a standby CommServe server (for the existing CommServe server) for high availability.
Before You Begin
Verify the requirements needed to setup the primary and standby CommServe server described in Standby CommServe Server Deployment.
Procedure
-
Setup the network in the nodes as described in one of the following pages:
-
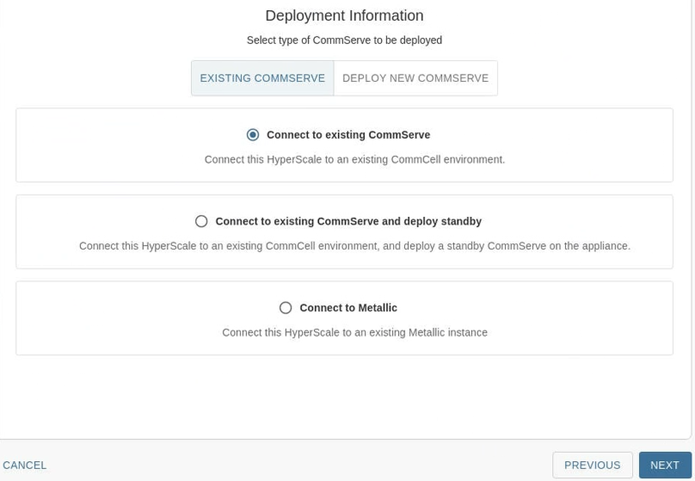
After providing the network information, the CommServe Deployment Information page appears.

-
Click Connect to existing CommServe and deploy standby and then click NEXT.
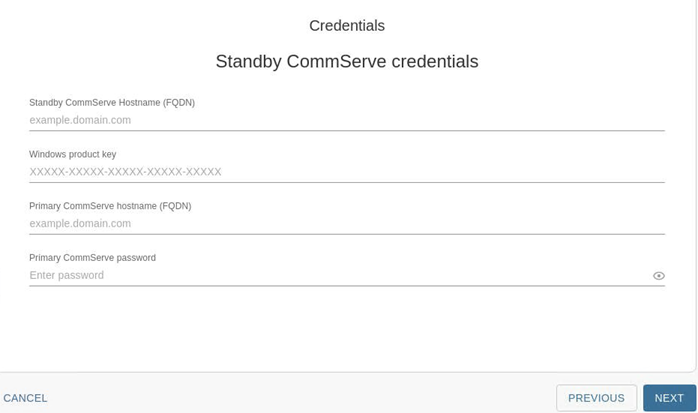
The Credentials page appears.

-
In the Standby CommServe hostname (FQDN) box, enter a fully qualified host name for the new standby CommServe server.
-
In the Windows Product Key box, enter the Windows product key provided in the package, from one of the nodes.
-
In the Primary CommServe hostname (FQDN) box, enter a fully qualified host name of the existing CommServe server that you are connecting to.
Note
TCP Ports 8400 & 443 must be open from the nodes to the CommServe server for the registration to work.
-
In the Primary CommServe password box, enter the credentials that must be used to access the CommServe server
-
Click NEXT.
The software validates the information and will start the installation process. This process may take some time (approximately 45 minutes) to complete. You can monitor the progress using the progress bar.
Caution
Do not reboot or stop the installation during this process.
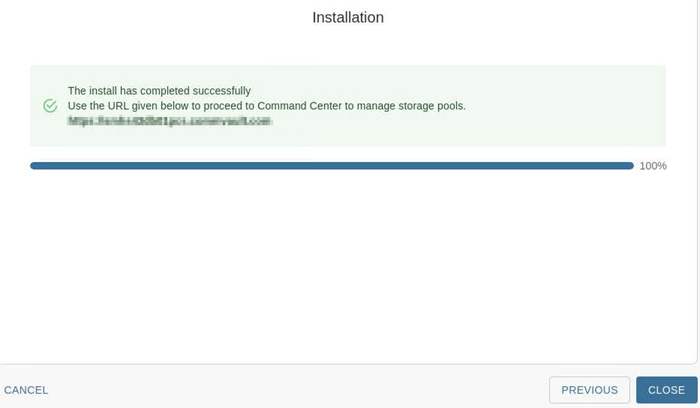
Once the installation is completed, the Installation page appears.

-
Click CLOSE.
What to Do Next
Complete the additional configurations that may be required to customize your environment. For more information, see What To Do Next.
Additional Information
- The standby CommServe server will be installed in Node 2.